
How to Create a Timeline
Someone asks you for a timeline. Maybe it's for a school project, a status update, a company history slide, or just organising your own notes. You have the information. You're not sure how to turn it into something readable.
That's normal. Creating a timeline is mostly about deciding what matters and putting it in order. The visual part comes after.
What you're actually making
A timeline shows when things happened (or will happen) in sequence.
That's it. It doesn't need to be fancy. It needs to be clear.
Before you open any tool, answer one question:
What is this timeline for?
- A history assignment → fewer events, longer time spans, maybe BCE dates
- A project update → milestones and deadlines
- A personal record → birthdays, moves, key moments
- A presentation slide → short titles, minimal text
The purpose shapes everything else.
Step 1: Collect your events
Write down each point you want on the timeline. For each one, note:
- When — a year, a month, a specific date, or a range like
2024 - 2025 - What happened — a short title
- Optional context — one sentence if it helps
Example (fictional website redesign):
| Date | Event |
|---|---|
| 5 Jan 2026 | Project kickoff |
| 12 Jan 2026 | Research complete |
| 26 Jan 2026 | Design approved |
| 16 Feb 2026 | Development complete |
| 23 Feb 2026 | Testing |
| 1 Mar 2026 | Launch |
Don't worry about perfect formatting yet. A messy list is fine.
If you have many events, a spreadsheet or CSV works well. Simple Timeline Maker can import CSV files if you want to skip manual entry later.
Step 2: Put events in chronological order
Sort oldest → newest (or future → past if you're working backwards).
If two events share the same date, pick an order that makes sense and stick with it.
This step matters even when software auto-sorts for you. Scanning your list in order should tell a coherent story.
Step 3: Decide how much detail to show
Timelines get cluttered fast.
On the timeline itself: short titles, readable at a glance.
Off to the side (or in descriptions): the extra detail — who was involved, why it mattered, links.
If you're presenting to a manager, six well-chosen milestones beat twenty tasks. If you're doing a history poster, you might need more events but still keep titles short.
Step 4: Choose how to build it
There are several honest ways to make a timeline:
On paper
Draw a line, mark dates, write events above or below. Good for quick sketches and classroom posters. See our guide on how to make a timeline on paper if that's what you need.
In PowerPoint or Google Slides
Insert shapes and text boxes along a horizontal line. Flexible, but you position everything yourself. Fine for one slide; tedious for ten.
In a spreadsheet
Dates in column A, events in column B. Useful for planning, not great as a visual on its own.
In Canva or similar design tools
Plenty of templates. You get polish, but you're still arranging elements manually.
With a timeline maker
Tools built specifically for timelines — Simple Timeline Maker, Preceden, Office Timeline — handle layout from your data. You enter events; the tool sorts and arrises them.
When a dedicated timeline maker helps: you have the content ready and don't want to spend an hour nudging boxes in PowerPoint.
When it doesn't: you need full project management (task assignments, dependencies, resource loading). That's a Gantt chart or PM tool, not a simple timeline.
Step 5: Enter your information
If you're using Simple Timeline Maker, add each event with a date and title. Descriptions, categories, and links are optional.
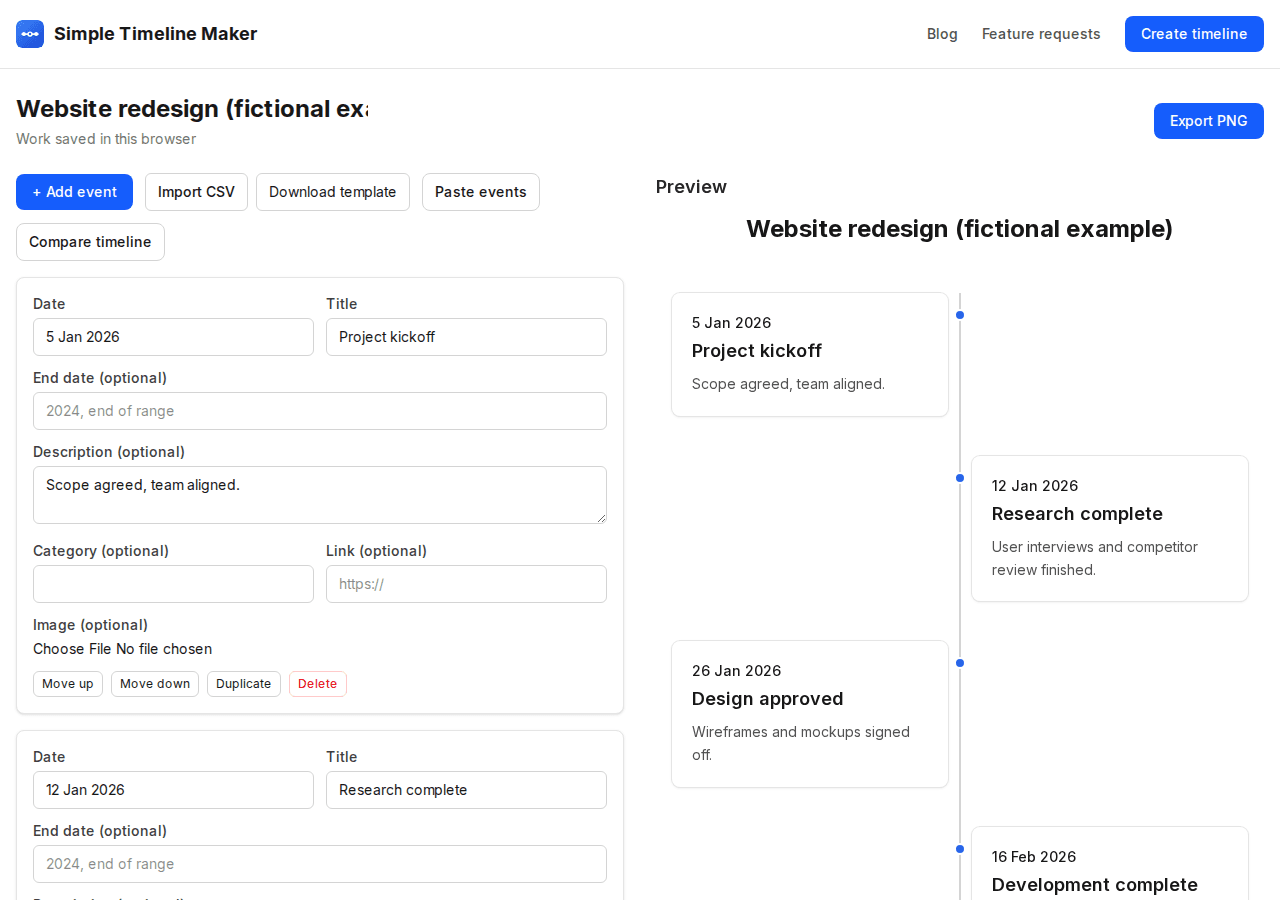
The timeline updates as you type. You don't drag boxes or draw connecting lines.
Dates can be flexible: 2020, January 2020, 5 Jan 2026, 2020 - 2023, even 500 BCE or a label like Victorian Era for periods that don't have exact dates.
Step 6: Pick a visual style
The same information can look quite different depending on style.
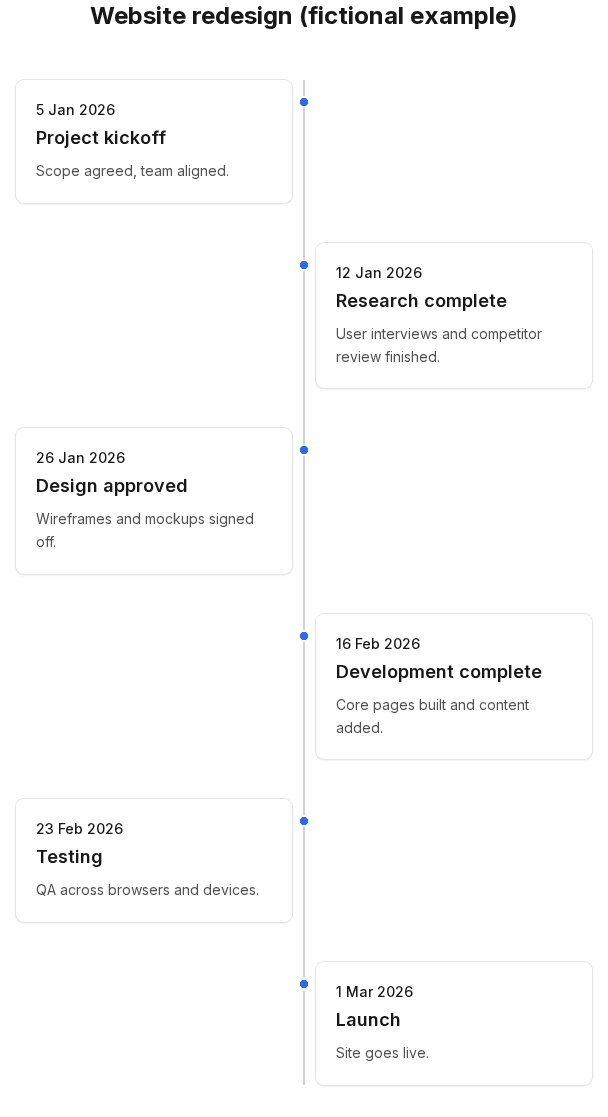
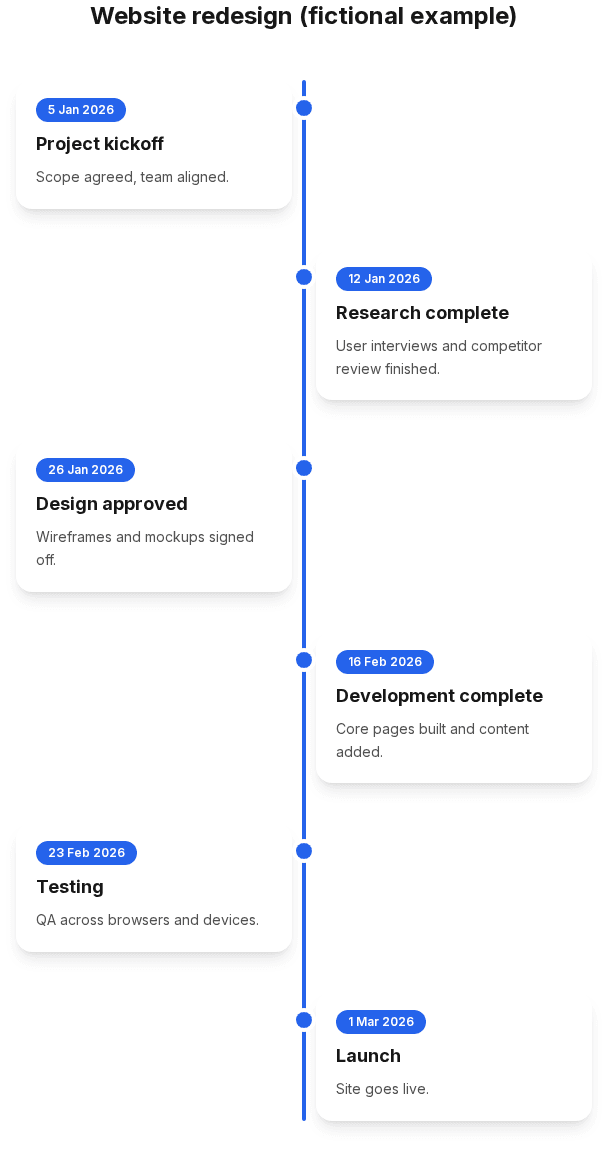
Simple Timeline Maker includes six free styles: Clean, Modern, Classic, Vertical, Historical, and Lanes. Switch between them without re-entering data.

Not sure which to pick? See timeline examples for the same data in different styles.
Step 7: Review for clarity
Read the timeline as if you've never seen the project before.
- Can you follow the story left-to-right (or top-to-bottom)?
- Are any titles too long?
- Are dates missing or ambiguous?
- Would hiding descriptions make it cleaner?
Toggle descriptions off if the timeline feels crowded. You can always keep detail in your speaker notes or document.
Step 8: Export or share
For slides and documents, export a PNG and drop it in.
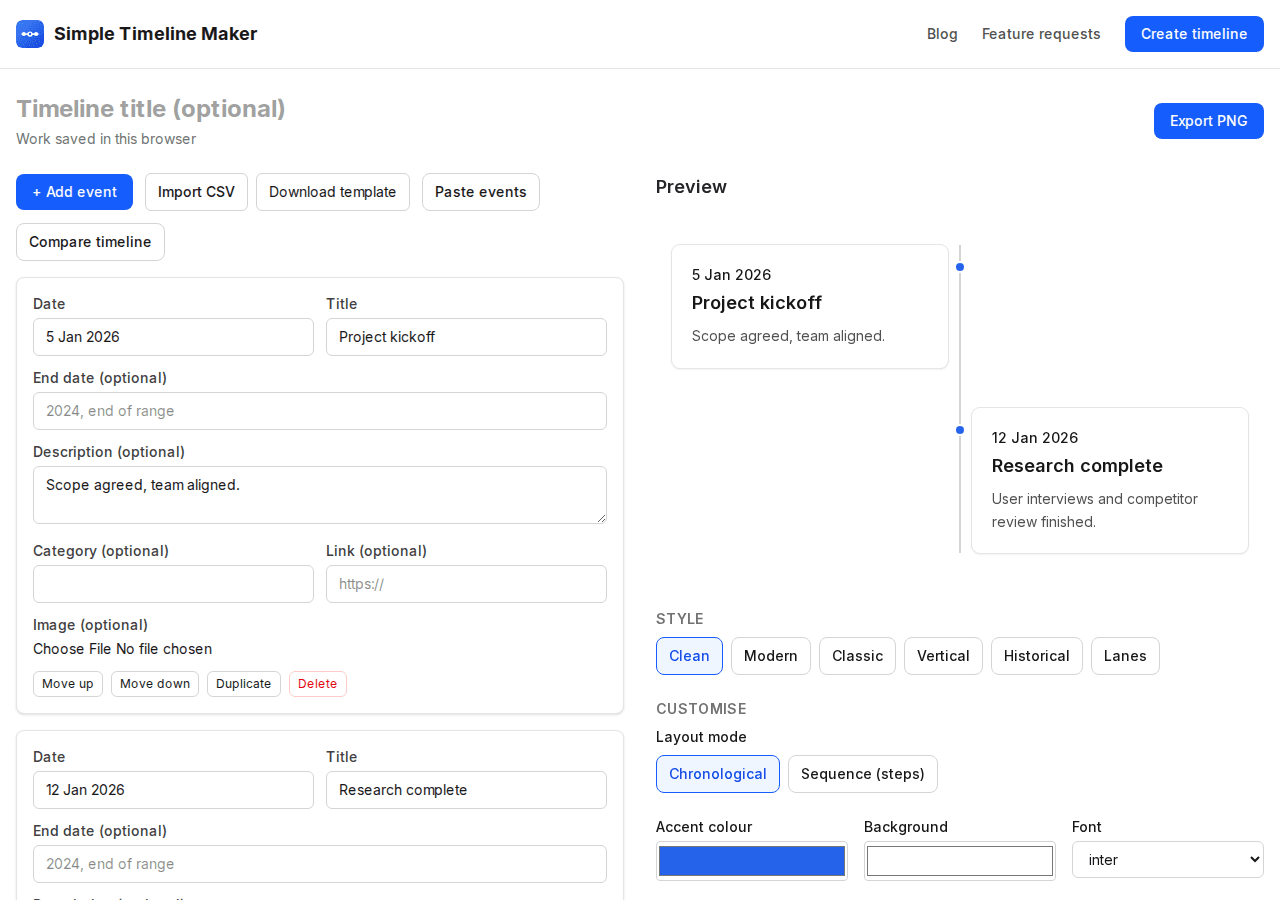
Simple Timeline Maker exports PNG on the free tier — no website chrome, no watermark. Premium adds full-page PNG/PDF, PowerPoint slides, your logo on exports, and cloud saves.
No account is required for the free tool. Your work saves in the browser until you clear it.
Common mistakes
Too many events. If everything is on the timeline, nothing stands out. Cut ruthlessly.
Vague titles. "Phase 2" tells nobody anything. "Design approved" does.
Inconsistent dates. Mixing Jan 2026, 1/5/26, and 2026-01-05 is confusing. Pick a format.
Using the wrong tool. If you're manually positioning arrows for an hour, consider whether a timeline maker would save time.
What to read next
- How to make a timeline on paper — if you want to draw one by hand
- How to make a project timeline — milestones, phases, and a worked example
- Timeline examples — fictional timelines for inspiration
- Best timeline creators in 2026 — if you're choosing software
When you're ready, use the free timeline maker to enter your events — the layout is handled for you.